
How to Dry Brine a Turkey with Olive Oil
The days of dry turkeys are over!
It’s TURKEY TIME!!!! If you’re hostin’ your first Thanksgiving and you’re thinking “how the heck do I even cook a turkey” “what’s a dry brine” or just generally “HELP” — you’re in the right place. The days of dry Thanksgiving turkeys are over (it’s 2025 people!!!).
Why Dry Brine?
Crispy skin… tender, juicy insides… it’s hard to go wrong with a dry brine. This two-part method uses olive oil, aromatics and about 72 hours of magical brining time (YES YOU HAVE TO PLAN AHEAD) to make the Thanksgiving turkey of your dreams. Let’s get into it…
Part One: The Dry Brine
It’s important to start the dry brining process 1-3 days before cooking the turkey. The longer the brine, the more flavorful it will be. Yay getting ahead of it!!
Prep the turkey
(Note: Your turkey should be fully thawed before you start this process. If it’s frozen, do not pass go.) Carefully remove the neck and all the giblets from the cavity. Pat the inside and outside of the turkey completely dry with paper towels, and place it on a wire rack, inside a rimmed baking sheet. Make sure it’s comfy.
Make the brine…
Now, mix together the herbs and spices for the brine. Grab a bowl and some Kosher Salt — for a 12-25 lb turkey, you’ll need about 3 tablespoons. Mix the salt with your favorite aromatics; we like black pepper, thyme, lemon zest, and some sage. …
And rub it in!
Now rub the salt mixture all over your turkey, inside and out — including under the skin for maximum deliciousness. When you’re done, place the turkey *uncovered* in the fridge (bottom shelf always) for 24-72 hours. Leaving it uncovered helps the salt dry out the skin, and the dryer the skin, the crispier the roast. Set yourself up for success by starting 72 hours ahead of time — JUST TRUST US!!!!
Part Two: The Roast Stuff it
The morning (or afternoon) of, crank up the heat on your oven to 425ºF. While it’s preheating, stuff your turkey with your favorite aromatics — like quartered onions, lemons, and fresh sage and thyme.
Oil it up
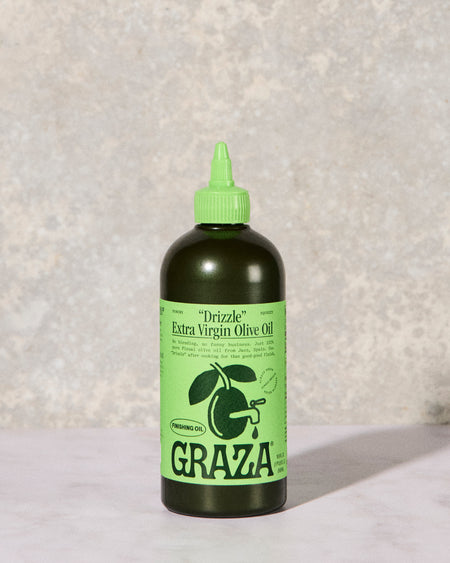
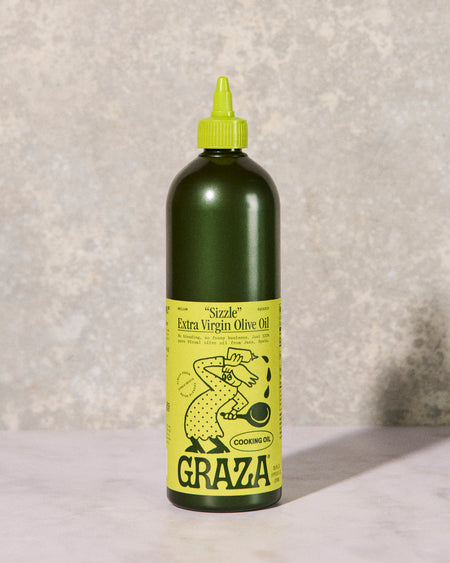
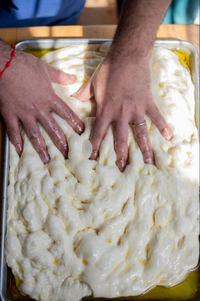
Now it gets really good. Grab some Sizzle and douse your turkey in it — we’re talking all over. Use your hands to rub it in, giving it a gorgeous olive-ey sheen. Take your time massaging it into the skin… that’s what’s gonna make it extra crispy.
And roast it!
Once it’s all oiled up, it’s time to roast!! The roasting time will depend on how much your turkey weighs — account for about 15-20 minutes per pound of meat. Place your turkey in your preheated oven. Roast it at the high temp (remember, 425ºF) for about 25 minutes to crisp up the skin. After 25 mins, turn it down to 350ºF to finish cooking. Remember — 15-20 minutes per pound. Now, set up camp outside your oven to watch it cook for about 3 hours. Just kidding… unless…
Let it rest, carve, and enjoy!
When your time is up, take it out of the oven, and double check the thickest thigh with a meat thermometer to make sure it’s 165ºF or higher. Now, let your bird rest for about 20-30 minutes before carving, so the juices fully redistribute. Carve it, and ENJOY!!!